


When diving into a house-flipping project, investors often meticulously calculate renovation costs, potential ROI, and timeline estimates. Yet one crucial element frequently gets overlooked until debris starts piling up: waste management. Many flippers learn the hard way that skipping a proper dumpster rental can lead to significant regrets and unexpected costs.
The Reality of Flip Renovation Waste
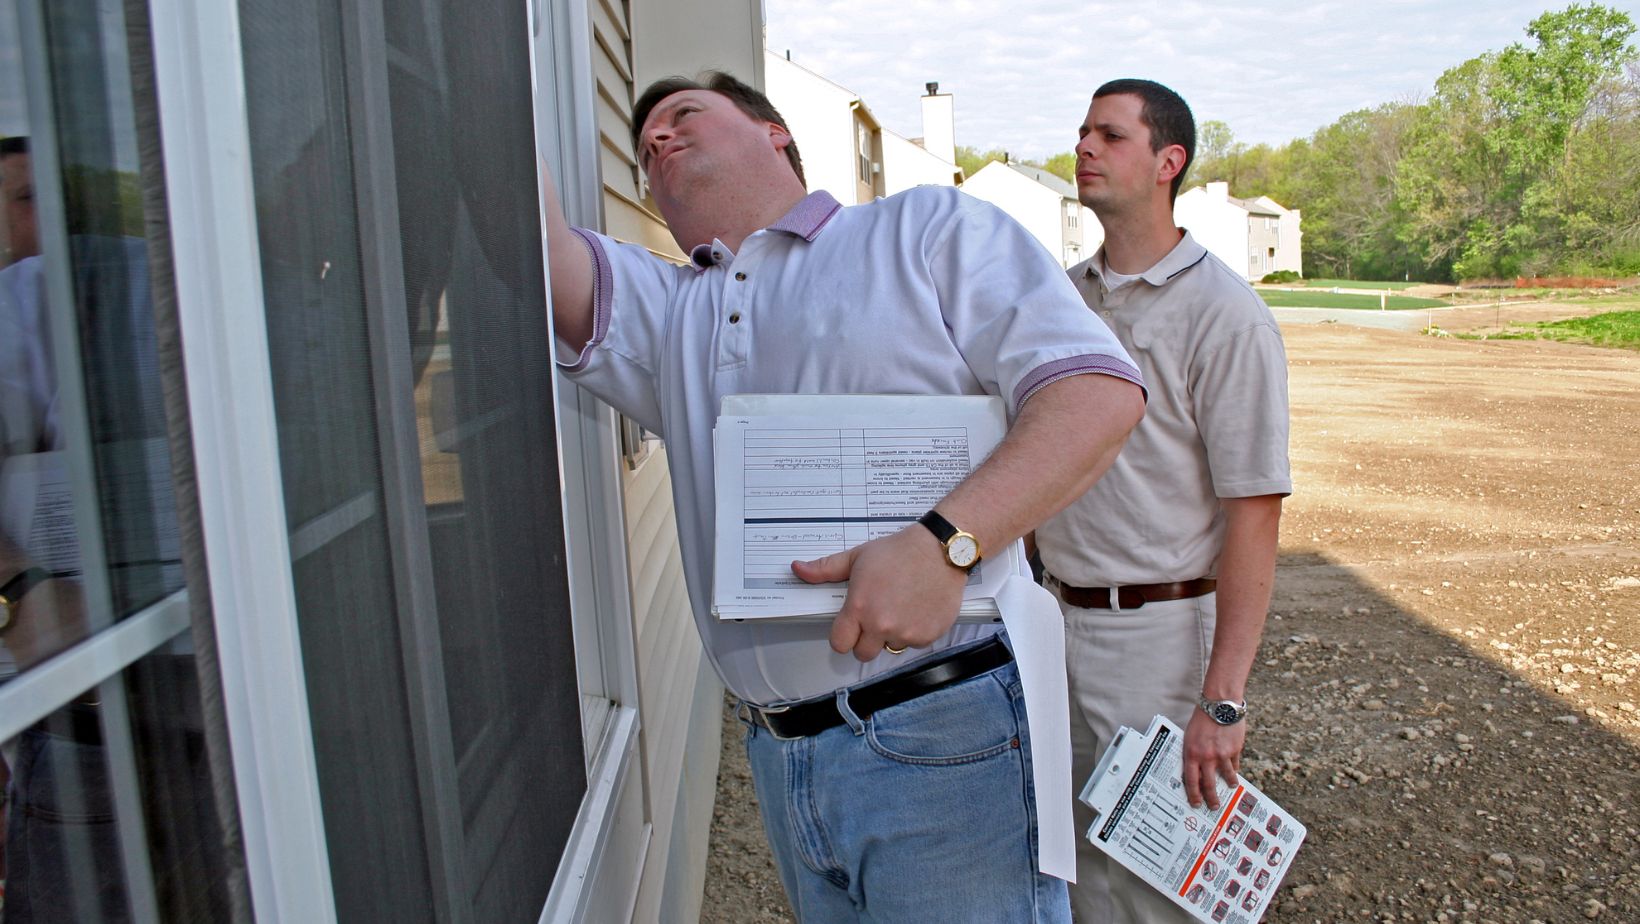
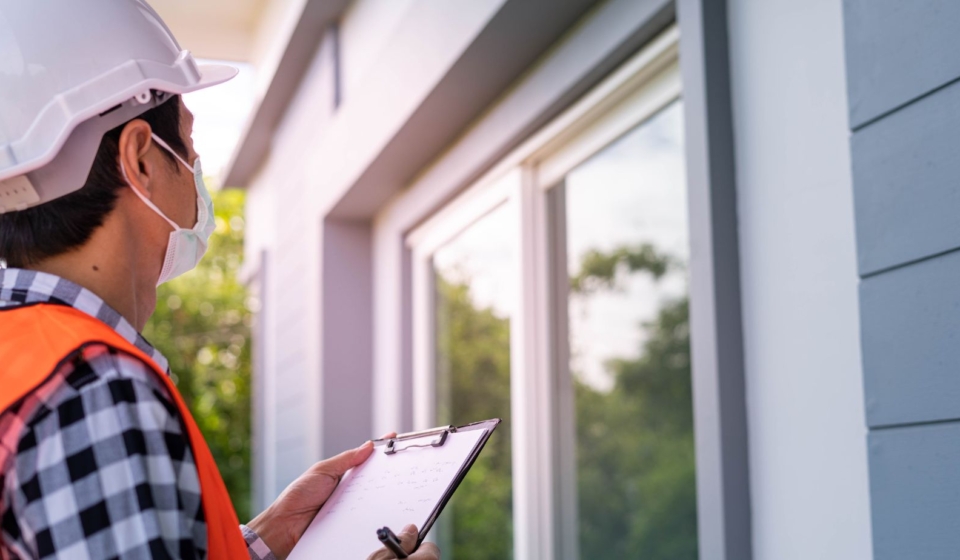
House flipping generates massive amounts of debris—far more than most investors initially anticipate. From gutting interiors to replacing outdated fixtures, every phase produces waste that needs somewhere to go.

A typical flip involving kitchen and bathroom remodels alone can generate several tons of construction waste. Add in flooring replacements, drywall removal, or exterior updates, and you’re looking at a waste management challenge that can quickly overwhelm your project.
The True Cost of Improper Waste Management
Many new flippers attempt to save money by handling debris themselves, but this approach often backfires in multiple ways:
- Time Drain: Every hour spent hauling debris to disposal facilities is time not spent on value-adding renovations. Successful flippers know that time efficiency directly impacts profitability.
- Hidden Expenses: Multiple trips to landfills add up quickly when you factor in gas, vehicle wear, disposal fees, and opportunity costs. These expenses rarely make it into initial budgets but can significantly impact your bottom line.
- Project Delays: Construction debris cluttering work areas creates hazards and inefficiencies that slow down contractors. In the flipping business, time truly is money—delays directly reduce your profit margin.
- Municipal Fines: Improper disposal or allowing debris to accumulate can result in citations from local authorities, adding unexpected costs to your project.
One experienced flipper shared a painful story of losing over $40,000 on a flip, with waste management challenges contributing to the timeline extensions that ate into profits.
Why Residential Dumpster Rental Is Non-Negotiable for Flippers
Smart investors recognize that appropriate waste management isn’t just a convenience—it’s a crucial business decision:

- Budget Predictability: A single, upfront residential dumpster rental cost is easier to budget for than accumulated disposal fees and time costs.
- Workflow Efficiency: Contractors can maintain momentum when they can immediately dispose of debris rather than creating piles around the property.
- Professional Appearance: Properties with clean exteriors during renovation make better impressions on neighbors, potential buyers, and local authorities.
- Scalable Solutions: Dumpster rental companies offer various sizes to match your specific project, ensuring you’re not paying for more capacity than needed.
- Proper Material Handling: Many companies now sort and recycle materials, which can be a selling point for environmentally-conscious buyers.
Strategic Dumpster Placement for Flip Projects
Experienced flippers strategically position dumpsters to maximize efficiency:
- Near major demolition areas for immediate debris disposal
- Accessible to contractors but not blocking essential work areas
- Away from neighbors’ sightlines when possible
- Positioned to avoid damaging the driveway or landscaping that will remain
Learning from Others’ Mistakes
Many real estate investors have shared stories of regret about underestimating waste management needs. One common theme emerges: those who treated dumpster rental as an essential part of project planning rather than an optional convenience consistently reported smoother project execution.
As one seasoned flipper put it, “You definitely make the money on the buying end with real estate, but you can certainly lose it during renovation if you don’t plan properly.”
The most successful house flippers build waste management into their initial project scope, recognizing that a clean, organized worksite translates directly to faster completion times and higher profits.
When planning your next flip, remember that proper debris management isn’t just about convenience—it’s about protecting your investment and maximizing your return. Make that residential dumpster rental call before the first demolition hammer swings, and you’ll be setting your project up for success from day one.