
Highlights:
- Sealing gaps (outlets, baseboards, ceiling edges) is the highest-impact, lowest-cost first step — sound behaves like water and flows through every opening before you’ve spent a dollar on panels or MLV.
- Budget DIY wall soundproofing is genuinely viable: targeting a single problem wall with MLV, mineral wool, and acoustic caulk can realistically improve STC ratings by 8–15 points for $200–$600 in materials.
- The four pillars — mass, decoupling, absorption, and sealing — don’t all require expensive professional work; budget builds can meaningfully address at least three of them without touching the wall structure.
- Material sequencing matters more than material cost: premium panels applied over an unsealed wall will always underperform cheap materials applied in the right order.
- Full structural isolation (double-stud walls, resilient channels) is the only reliable fix for heavy bass and professional audio needs — budget DIY has real limits, and knowing them saves you from wasting money.
You don’t have to spend thousands of dollars to make a real dent in the noise coming through your walls. Whether it’s a neighbor’s bass-heavy playlist, traffic rumble, or a home office that desperately needs to stay private, there are smart, wallet-friendly upgrades you can pull off yourself. The trick is knowing which methods actually move the needle — and which ones just look good on paper.
Let’s dig into what the 2026 data says, what your money actually buys you, and the techniques that give you the most acoustic bang for your buck.
What Does Soundproofing a Wall Actually Cost in 2026?
Before you start loading a cart with acoustic foam, it helps to understand the real price landscape — because “soundproofing” covers an enormous range of approaches and materials.
According to HomeGuide’s 2026 cost breakdown, soundproofing a wall runs anywhere from $100 to $2,000 when you factor in professional labor, and acoustic wall panels for DIY projects come in at $2 to $17 per square foot for materials alone. That’s a staggeringly wide range, and it exists because the word “soundproofing” means wildly different things depending on what you’re trying to block and how deep you’re willing to go.
On the lower end, you’re looking at surface-level treatments — sealing gaps, adding mass-loaded vinyl, layering in heavy curtains, or rearranging furniture to create natural sound barriers. On the higher end, you’re talking about structural work: pulling drywall, adding resilient channels, and building decoupled wall assemblies. For most homeowners working on a tight budget, the sweet spot lives firmly in that lower range.
The key takeaway from that data: DIY acoustic panels are genuinely affordable. At $2 to $17 per square foot for materials, treating even a 100-square-foot wall doesn’t have to blow your budget if you’re strategic about it. Shop mid-range panels with a solid Noise Reduction Coefficient (NRC) rating, and you’re investing in real results — not just decoration.
The Per-Square-Foot Reality Check
Here’s where a lot of people get tripped up. They see a low material cost and underestimate what it takes to actually move the needle on noise transmission. The honest truth is that soundproofing is almost never a one-product fix.
Soundproof Cow’s 2026 project cost analysis puts it plainly: while most soundproofing projects fall in the $4 to $30 per square foot range overall, the most frequently cited number for a mid-range residential project is $6 to $12 per square foot — with lower-budget jobs that target a single obvious weak point coming in well under that threshold.
That’s a really useful frame for DIY planning. If you’re dealing with one loud shared wall in an apartment or bedroom, you’re not necessarily looking at a whole-room overhaul. You can realistically target that single problem surface, apply a layered treatment strategy, and land somewhere in the budget-friendly zone.
What drives costs up? According to the same analysis, the factors that most reliably push projects into the higher range include ceiling work, structure-borne vibration, and layered assemblies. Standard airborne noise through a wall — the everyday voice/music/TV bleed — is much more forgiving. That’s exactly where budget DIY techniques shine.
Why Cheap Doesn’t Mean Ineffective: The Layered Approach
One of the biggest misconceptions in DIY soundproofing is that expensive materials equal better results. That’s partially true — denser, higher-mass materials do outperform lightweight foam. But the installation strategy matters just as much as the product itself.
The four pillars of effective soundproofing are mass, decoupling, absorption, and sealing. Most budget projects can meaningfully address at least two or three of these without professional help or a dramatic renovation.
Here’s a practical breakdown:
Mass means adding density to the wall so sound waves have a harder time pushing through. You don’t always need specialty soundproof drywall (though it’s effective). A layer of mass-loaded vinyl (MLV) — which typically runs $2 to $5 per square foot — applied directly to the existing wall before a new drywall layer can add significant transmission loss at a fraction of the cost of demo-and-rebuild.
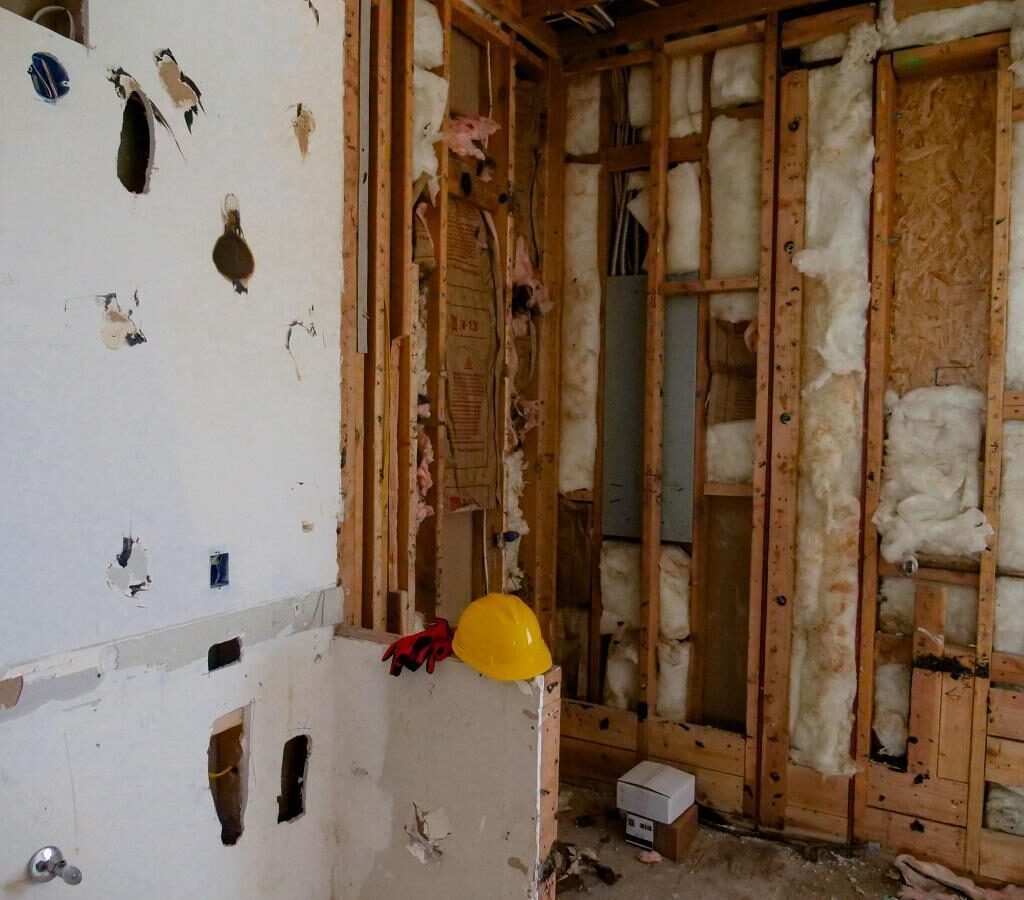
Sealing is almost always the highest-impact, lowest-cost move. Sound behaves a lot like water — it finds every gap and flows right through. Electrical outlets on shared walls are notorious weak points. Outlet gasket inserts cost a few dollars for a pack. Acoustic caulk along baseboards and wall edges costs under $20 a tube. These fixes are boring, unglamorous, and remarkably effective.
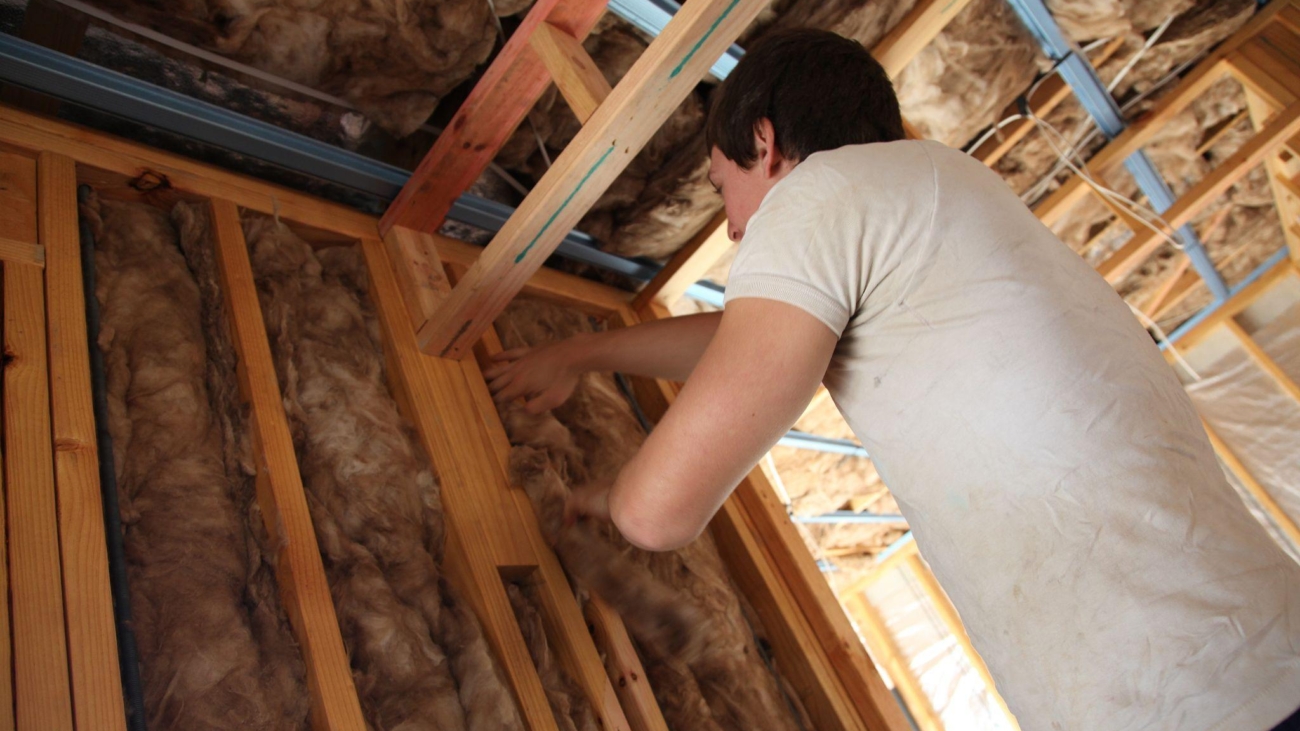
Absorption inside the wall cavity is where mineral wool insulation earns its reputation. If you’re already opening up a wall for any reason, swapping standard fiberglass batts for dense-pack mineral wool (like Rockwool Safe’n’Sound) typically costs $0.50 to $1.50 per square foot more — and the acoustic difference is measurable.
Decoupling is the most advanced of the four and the hardest to DIY without some experience. It involves physically separating the drywall from the studs so vibration can’t transfer mechanically through the structure. Resilient channels and clips are the standard solution. It’s doable as a DIY project, but it’s where most budget builds start cutting corners that cost them results.
The Budget DIY Toolkit: What to Buy First
If you’re working with limited funds and want to sequence your upgrades intelligently, here’s a prioritized approach that matches the data:
Start with the gaps
Before buying a single panel or roll of MLV, go over the wall inch by inch. Electrical boxes, switch plates, HVAC vents, gaps at the ceiling and floor — every one of these is a sound highway. Acoustic caulk, foam gaskets, and weatherstripping are your first purchase.
Add mass with MLV
At $2 to $5 per square foot, mass-loaded vinyl is one of the most cost-effective wall treatments available. It can be applied directly to studs before drywall goes up, or layered over existing drywall and covered with a second sheet. It’s heavy, limp, and excellent at blocking mid-range and high-frequency airborne sound.
Layer in absorption panels
Acoustic panels on a finished wall reduce reverberation and make sound feel noticeably quieter inside the room. They’re not the same as blocking sound from passing through, but they’re a meaningful part of the overall picture — and at $2 to $17 per square foot for materials, they’re accessible. Focus placement on the wall closest to the noise source and at first-reflection points.
Upgrade insulation opportunistically
Any time you have a reason to open a wall — a renovation, a repair, a new outlet — fill the cavity with mineral wool. The marginal cost over standard insulation is small; the acoustic payoff is significant.
For a detailed walkthrough of how to sequence and combine these methods into a full project plan — including guidance on STC ratings, material selection, and which upgrades work best for different noise types — the step-by-step DIY wall soundproofing guide is an excellent resource that covers the full process from diagnosis to finishing.
The Materials That Actually Deliver
Let’s get specific, because generic advice only goes so far.
Mineral wool insulation (Rockwool/Roxul)
Dense-pack mineral wool in a standard 2×4 wall cavity can push the wall’s STC rating up by 4 to 8 points depending on what else is in the assembly. It’s one of the highest-ROI upgrades available and widely stocked at home improvement stores.
Mass-loaded vinyl
MLV is dense, flexible, and cuts with scissors. It’s not pretty on its own, but sandwiched between drywall layers or hung as a behind-the-scenes barrier, it’s a workhorse. The 1-pound-per-square-foot version is the standard choice for residential walls.
Green Glue compound
This viscoelastic damping compound goes between two layers of drywall and converts sound energy into small amounts of heat. A two-tube pack covers a 4×8 sheet of drywall and typically runs $15 to $20. It’s not a magic bullet, but combined with a second drywall layer, it consistently delivers measurable improvement.
Acoustic panels (fabric-wrapped)
These are the most visible upgrade and the easiest to DIY. You can build your own with rigid fiberglass or mineral wool board (Owens Corning 703 is popular), basic lumber, and acoustically transparent fabric. Total material cost per panel: often under $30 for a 2×4 foot unit. Commercial alternatives run higher but offer better aesthetics and warranty coverage.
Weatherstripping and door sweeps
If sound is flanking around the door into the room, no amount of wall treatment will fix the problem. A door sweep and compression weatherstripping are an essential complement to wall work on any shared-wall project.
How to Set Realistic Expectations
This is where a lot of DIY soundproofing content falls short: it promises dramatic results without being honest about the physics.
Budget DIY upgrades — sealing, MLV, added insulation, a second drywall layer with Green Glue — can realistically improve a wall’s STC rating by 8 to 15 points in favorable conditions. That’s a real and noticeable difference. Loud conversation on the other side becomes a murmur. Traffic noise drops from intrusive to background. That’s a quality-of-life win.
What budget DIY cannot reliably do is achieve the deep isolation that a fully decoupled, double-stud wall assembly delivers. If you’re recording professional audio or need to block thunderous bass, the physics eventually demand structural solutions that go beyond surface treatments.
But for the vast majority of residential noise problems — the neighbor’s TV, the street traffic, the thin walls of an older home — the layered budget approach works. The 2026 cost data confirms that the most effective residential projects aren’t necessarily the most expensive ones. Targeting the right weak points, using the right materials in the right order, and sealing before you layer: that formula consistently outperforms throwing money at premium materials without a strategy.
Final Thoughts: Spend Smart, Not Big
The data makes a compelling case for the budget DIY approach. When professional wall soundproofing can hit $2,000, and mid-range residential projects run $6 to $12 per square foot, the fact that you can achieve real results with $200 to $600 in materials and a weekend of work is genuinely exciting.
The keys are sequencing your upgrades correctly, starting with air sealing before any mass or absorption treatment, and being honest about what level of isolation you actually need. A few hundred dollars spent on MLV, mineral wool, and proper sealing will outperform a few thousand spent haphazardly on premium panels applied over an unsealed wall.
Start with the gaps. Add mass. Layer in absorption. Do it in that order, and you’ll be surprised what a meaningful difference a budget build can make.