Managing rental properties successfully takes more than collecting rent and responding to maintenance requests. It requires clear communication, accurate records, timely decisions, and a shared plan for protecting the property while keeping tenants satisfied.
For property managers, this means balancing daily operations with owner expectations. For landlords, it means staying informed without getting pulled into every small task. When both sides understand their roles and work from the same information, rental properties run more smoothly.
A strong partnership between property managers and landlords can improve rent collection, reduce delays, streamline maintenance, and create a better experience for tenants.
Understanding the Roles of Property Managers and Landlords
Before the partnership can work well, both sides need a clear understanding of their responsibilities.
The Property Manager’s Role
A property manager handles the daily operations of the rental property on behalf of the landlord or owner. Their job is to keep the property running efficiently, support tenants, and make sure important tasks do not fall through the cracks.
Property managers often handle:
- Marketing vacant units
- Screening tenants and processing applications
- Preparing lease agreements
- Collecting rent and tracking payments
- Coordinating maintenance and repairs
- Managing tenant communication
- Conducting inspections
- Monitoring local rental requirements
- Providing financial and operational updates to owners
A good property manager acts as an operational partner. They help protect the landlord’s investment while keeping the rental experience professional for tenants.
The Landlord’s Role
A landlord is the property owner. The landlord is ultimately responsible for the asset, investment goals, major financial decisions, and long term strategy.
Landlords typically focus on:
- Setting investment goals
- Approving major repairs or improvements
- Reviewing financial performance
- Monitoring profitability
- Making decisions about property upgrades
- Choosing whether to self manage or work with a property manager
The best landlord and property manager relationships work when the landlord provides direction and the property manager handles the day to day execution.
Why Collaboration Matters
Rental properties operate best when ownership oversight and professional management work together. Landlords bring the investment perspective. Property managers bring operational experience.
When the partnership is strong, the property benefits in practical ways:
- Faster decisions
- Clearer tenant communication
- Better maintenance coordination
- More accurate financial records
- Fewer misunderstandings
- Stronger tenant satisfaction
Without clear collaboration, even simple issues can become frustrating. A missed update, delayed approval, or unclear repair policy can slow down operations and create avoidable stress.
Better Communication and Faster Decisions
Communication is one of the most important parts of a successful landlord and property manager relationship.
Property managers need clear direction on repair limits, tenant policies, budget expectations, and reporting schedules. Landlords need regular updates on occupancy, rent collection, expenses, maintenance, and tenant concerns.
When communication is consistent, decisions happen faster. For example, if a major repair is needed, the property manager can quickly provide details, share estimates, and request approval before the problem gets worse.
This responsiveness helps reduce downtime, protect property value, and improve tenant satisfaction. Tools such as SimplifyEm’s Communication Center Hub can also help property managers keep messages, updates, and tenant communication organized in one place.
Smoother Tenant Management
Tenants are at the center of every rental operation. They expect a safe home, clear communication, and prompt responses when issues come up.
Property managers often serve as the main point of contact for tenants. This allows landlords to stay informed without personally handling every message, maintenance request, or emergency call.
This arrangement benefits everyone:
- Tenants receive professional support
- Property managers can respond quickly
- Landlords avoid being pulled into routine issues
- Records stay more organized
When property managers and landlords work as a team, tenant communication becomes more consistent and problems are easier to resolve.
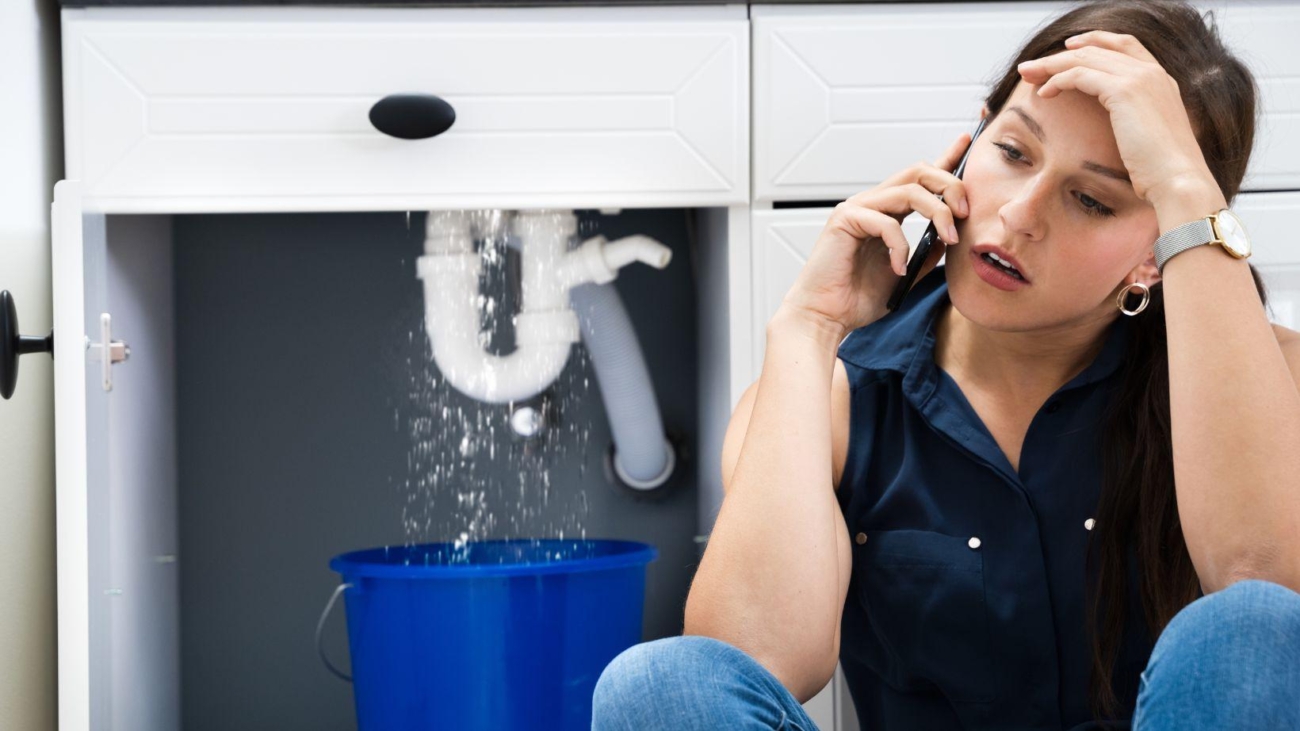
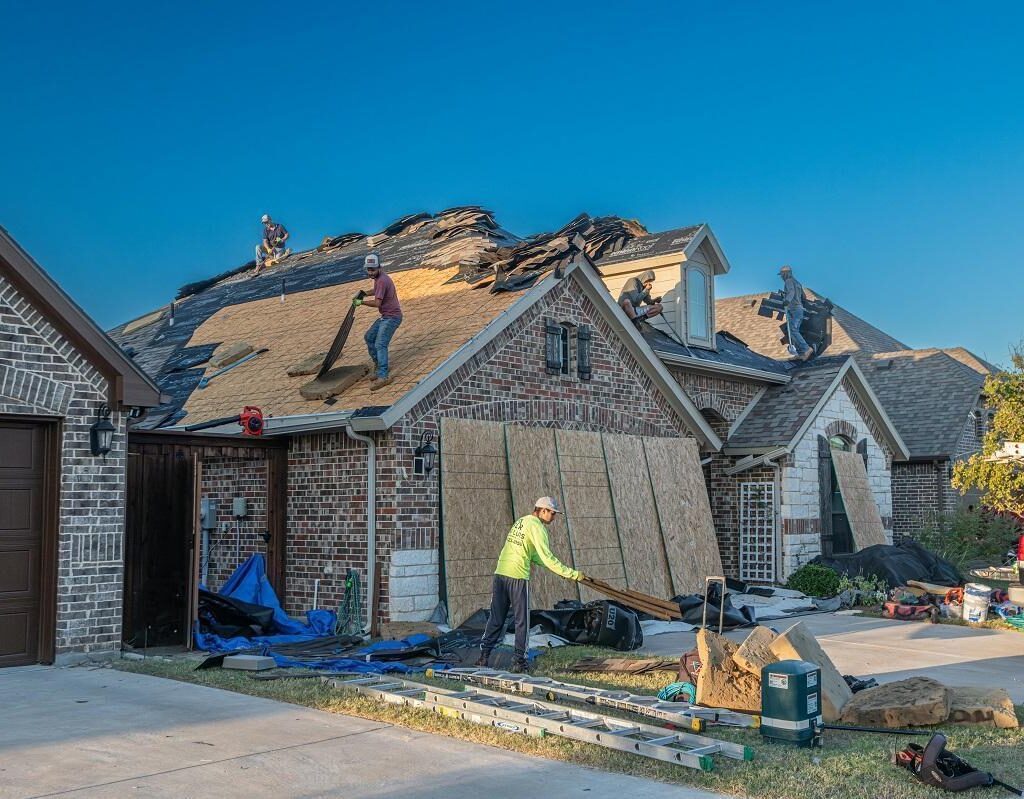
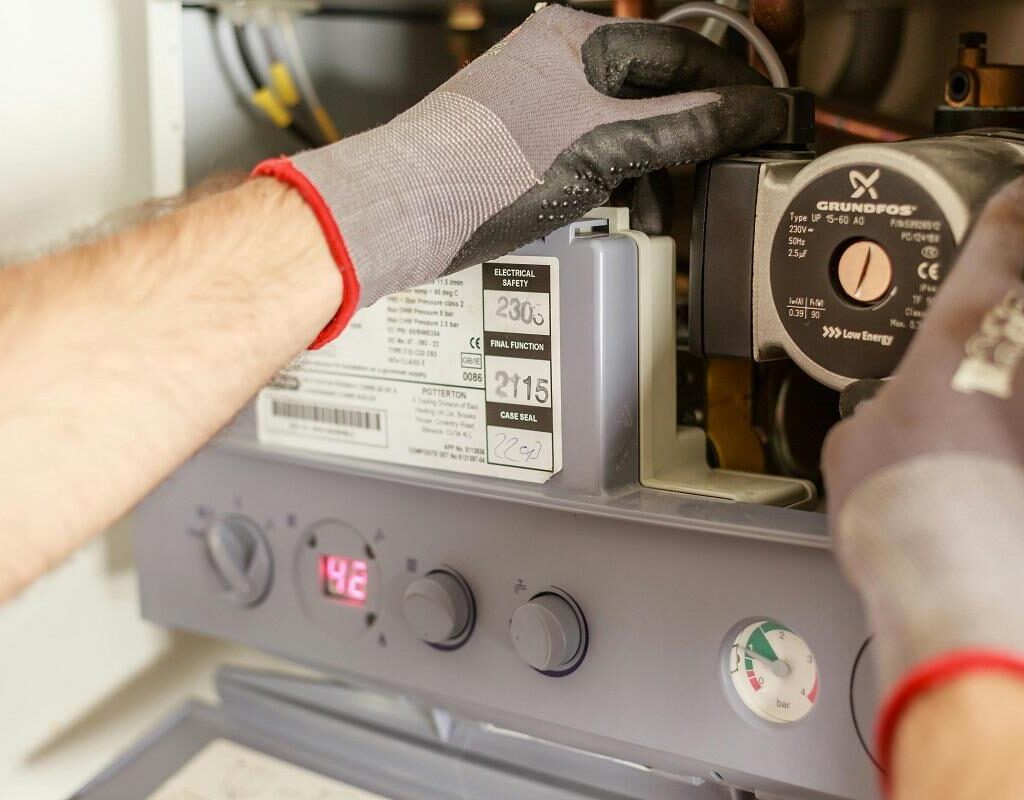
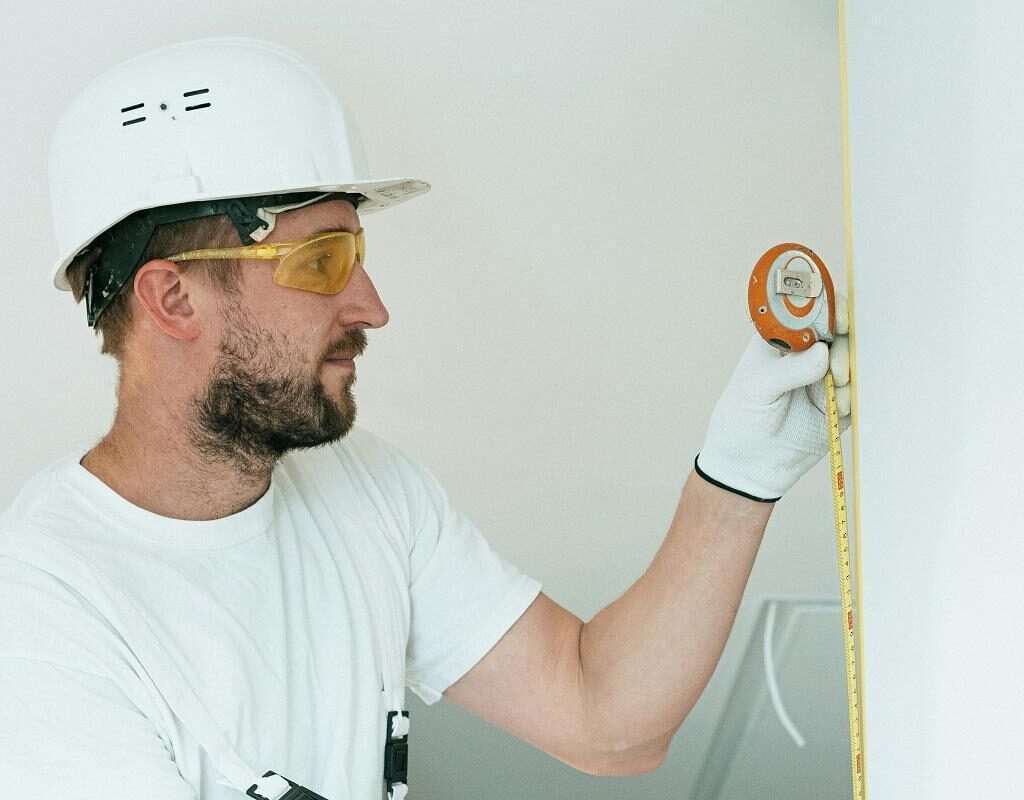
More Efficient Maintenance and Repairs
Maintenance is one of the most time consuming parts of property management. Routine repairs, emergency calls, inspections, vendor scheduling, and follow ups all require attention.
Property managers can handle these responsibilities by:
- Receiving maintenance requests
- Scheduling vendors
- Tracking repair status
- Communicating updates to tenants
- Keeping repair records
- Flagging larger issues for landlord approval
Landlords stay involved by approving major expenses, reviewing budgets, and making long term decisions about upgrades or replacements.
This division of responsibility helps keep the property in good condition without overwhelming the landlord with every operational detail.
How Property Managers Support Landlords Day to Day
A property manager does more than simply monitor a rental. They help run the property like a business.
Tenant Screening and Leasing
Finding the right tenant is one of the most important ways to protect rental income. Property managers can market available units, respond to inquiries, schedule showings, verify applicant information, and review screening results.
Once a qualified tenant is selected, the property manager can prepare lease documents, coordinate signatures, and manage the move in process.
This saves landlords time and helps reduce the risk of late payments, lease violations, and frequent turnover.
Rent Collection and Financial Tracking
Rent collection and accurate records are essential for a profitable rental business.
Property managers often oversee:
- Rent payment tracking
- Late payment follow up
- Fee notices
- Owner reporting
- Expense documentation
- Monthly income summaries
With better financial visibility, landlords can make smarter decisions about pricing, repairs, reserves, and future investments.
Legal and Compliance Support
Rental laws can be complex, especially in markets with changing local requirements. Property managers often help keep leases, notices, inspections, and operational procedures aligned with applicable rules.
Landlords should still understand the laws that apply to their properties, but an experienced property manager can reduce risk and help keep operations more consistent.
Setting Clear Expectations From the Start
Even strong partnerships can run into problems when expectations are unclear.
Before working together, landlords and property managers should discuss:
- Scope of responsibilities
- Repair approval limits
- Emergency procedures
- Preferred communication methods
- Reporting frequency
- Tenant approval criteria
- Lease renewal procedures
- Late payment and eviction processes
- Service standards
Clear agreements help avoid confusion and make daily operations smoother. This is especially important when managing multiple rentals or a growing portfolio.
How Technology Makes Collaboration Easier
Property management is no longer limited to spreadsheets, paper files, and scattered email chains. Digital tools help property managers and landlords stay connected, organized, and informed.
Software can simplify tasks such as:
- Online rent collection
- Maintenance request tracking
- Lease document storage
- Income and expense reporting
- Tenant communication
- Vacancy and application management
Using the SimplifyEm property management platform can make rental operations easier to manage by bringing rent tracking, tenant information, maintenance updates, expenses, and reports into one system.
For property managers, this reduces administrative work and creates a more reliable workflow. For landlords, it provides better visibility into how the property is performing.
In a competitive rental market, the right Property Management Software helps both sides save time, improve organization, and deliver a more professional tenant experience.
Building a Strong Long Term Partnership
A smooth rental operation depends on trust, transparency, and shared goals. Landlords should view property managers as professional partners, not just service providers. Property managers should understand the landlord’s investment goals and manage the property in a way that supports those goals.
A strong partnership often includes:
- Regular performance reviews
- Honest conversations about challenges and opportunities
- Clear financial reporting
- Proactive maintenance planning
- Tenant retention strategies
- Willingness to improve systems and processes
When property managers and landlords work well together, the results are visible across the rental business. Vacancies may be reduced, tenant relationships improve, maintenance becomes easier to manage, and landlords gain more confidence in how their properties are being handled.
Frequently Asked Questions
What is the difference between a landlord and a property manager?
A landlord owns the rental property. A property manager is hired to handle daily operations such as tenant communication, rent collection, maintenance coordination, leasing, and reporting.
Why do landlords hire property managers?
Landlords often hire property managers to save time, reduce stress, improve tenant management, handle maintenance more efficiently, and keep the property professionally operated.
Can landlords still make decisions if they hire a property manager?
Yes. Landlords usually retain control over major financial and strategic decisions. Property managers handle daily operations based on agreed guidelines.
How should landlords and property managers communicate?
They should use clear reporting schedules, maintenance updates, financial summaries, and defined approval processes for repairs, leasing, and tenant related decisions.
How can Property Management Software help property managers and landlords?
Property Management Software helps organize rent collection, maintenance requests, tenant communication, expense tracking, reporting, and lease documents in one place. This improves visibility for landlords and reduces administrative work for property managers.
Conclusion
Rental properties run smoothly when property managers and landlords are aligned. Property managers bring operational expertise, tenant support, and daily execution. Landlords bring ownership direction, investment goals, and decision making authority.
Together, they create a partnership that can improve efficiency, protect property value, and support tenant satisfaction.
As rental operations become more complex, clear communication and organized systems matter more than ever. With the right expectations and tools in place, property managers and landlords can build a more efficient, profitable, and less stressful rental management process.