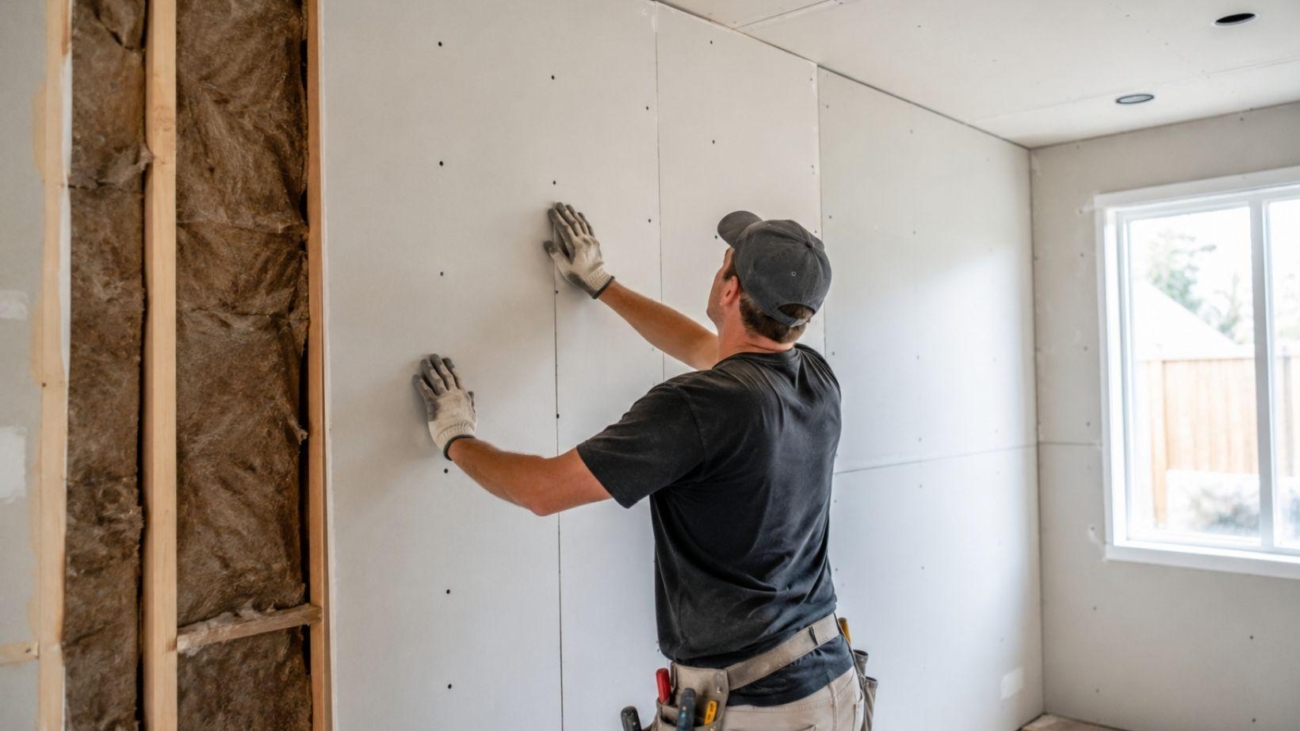
The way we look at real estate has completely shifted over the last few years. Gone are the days when buyers only cared about open-concept kitchens or large backyard decks. Today, remote software developers and digital marketers are looking for the perfect dedicated workspace. In major tech hubs, having a reliable space to log on from home is the ultimate selling point. However, setting up a desk involves more than just interior design. Prioritizing safety by looking into First Aid training Kanata is a vital part of building a complete, secure home workspace.
When you spend eight to ten hours a day working entirely alone in a room, physical safety and emergency preparedness become your personal responsibility. Let’s look at how you can design a home office that is both beautiful and thoroughly protected from hidden hazards.
The Evolution of the Modern Home Office
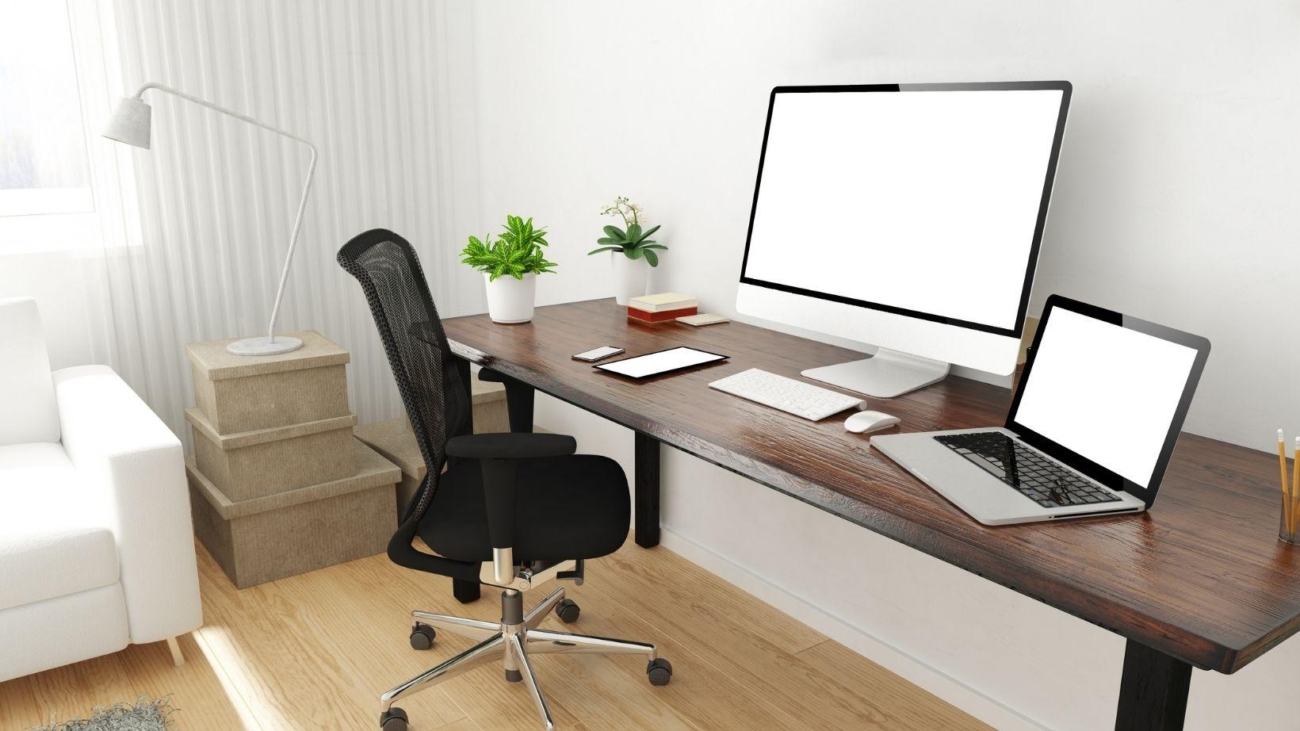
In a busy tech ecosystem, the traditional daily commute has largely been replaced by a short walk down the hallway. Because tech professionals spend so much time in their home offices, real estate trends are evolving fast. Buyers want spaces with ample natural light, proper ventilation, and enough electrical outlets to handle a massive dual-monitor setup.
But a truly premium home office has to look beyond aesthetics. It needs to be a space where you can work sustainably without harming your health. This is where ergonomics comes into play. Investing in a high-quality, adjustable standing desk and an ergonomic chair that supports your lower back is essential. Poor posture leads to chronic physical strain, which can ruin your productivity far faster than a slow internet connection.
A Practical Safety Checklist for Remote Workspaces
When you are deeply focused on a complex coding project or a tight creative deadline, it is easy to become completely blind to the physical hazards right under your nose. A safe home office requires a proactive approach to home improvement. Here is a quick checklist to keep your workspace secure:
The Importance of a Workspace Medical Kit
Every proper home office needs a dedicated, fully stocked medical kit. You shouldn’t have to run down to the main family bathroom or rummage through kitchen cabinets if you cut your hand on a sharp box opener or burn yourself on a hot laptop charger.
Keep a compact, zippered first aid pouch stored right on your desk shelf or inside a top drawer. It should be packed with multiple sizes of adhesive bandages, sterile gauze, antiseptic wipes, medical tape, and basic pain relievers. Having these tools immediately accessible keeps minor accidents from turning into major disruptions during your workday.
What Happens When You Are Working Completely Alone?
Here is the reality of the remote lifestyle: you are often entirely isolated during the day. If you were working in a massive corporate software building and suddenly choked on a snack or felt a sharp chest pain, a coworker would immediately step in to help. At home, you are your own primary first responder.
Knowing how to handle a personal health crisis while working alone is a critical life skill. Taking a certified safety course teaches you how to recognize early warning signs of severe medical conditions, how to manage sudden panic attacks caused by high-pressure launches, and how to properly treat injuries. It gives you the ultimate peace of mind, allowing you to focus on your career without underlying anxiety about your well-being.
If you are looking for first aid training near March Road, Terry Fox Drive, or other areas close to our facility, then you may reach out to Coast2Coast First Aid/CPR – Kanata in that area. For more information, local training schedules, and safety articles, you can visit us directly at.
Frequently Asked Questions
Are home office expenses for safety equipment tax-deductible? In many jurisdictions, if you are a designated remote employee or a self-employed business owner, necessary equipment purchased specifically for your dedicated home workspace can be claimed. Check with a local tax professional to confirm your specific situation.
What is the best way to prevent ergonomic fatigue at home? The most effective strategy is the 20-20-20 rule for your eyes (look 20 feet away for 20 seconds every 20 minutes) combined with regular movement. Stand up, stretch, or walk around your home for five minutes every single hour to keep blood circulating properly.
Can I use a regular extension cord for my entire tech setup? Standard extension cords are not designed to handle the continuous electrical load of multiple monitors, computers, and printers. Always invest in a high-quality, heavy-duty surge protector strip to protect your valuable gear and prevent electrical fires.
How often should I check the safety gear in my home office? You should test your smoke detector batteries at least once a month and change them once a year. Your first aid kit should be inspected every six months to replace any expired items or used bandages.
How long does online-supported first aid training take? By utilizing modern Blended Learning models, you can finish the bulk of the reading and theory modules online from your desk at your own pace. After that, you only need to attend a local facility for one single day of hands-on physical practice.